A Beginner’s Recipe: How to Edit Your First Video from Start to Finish
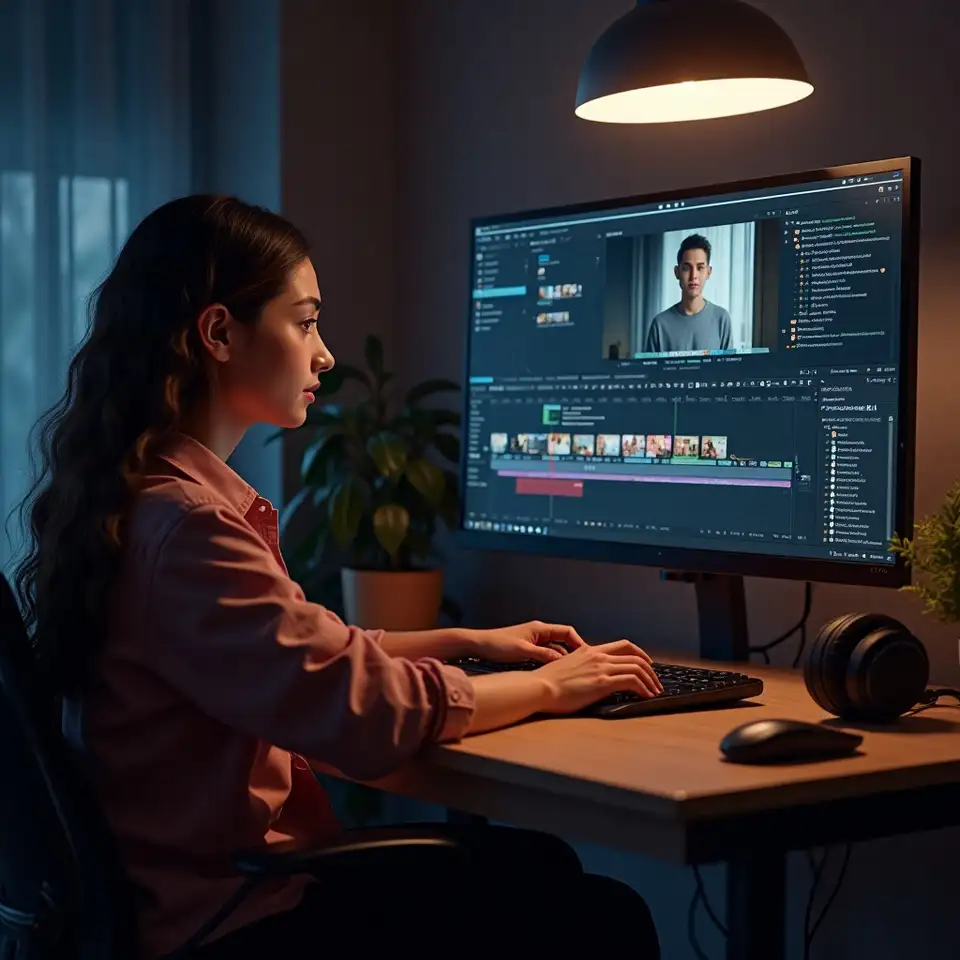
Ever felt lost staring at a jumble of raw footage, not knowing where to start? We’ve all been there. This guide breaks down basic video editing into clear, manageable steps—so you can spend less time guessing and more time creating. You’ll learn how to prep your files, arrange your clips, make smart cuts, and add those little touches that make a video feel finished. Whether you’re editing your first project or looking for a refresher, these steps will help you feel more confident every time you hit export.
Let’s face it: most of us hit a wall when we open an editing program for the first time. The menus look endless, and suddenly every decision feels high-stakes. The truth is, even experienced editors start with the same basic steps. By focusing on getting your files organized, learning your software’s timeline, making intentional cuts, and adding purposeful audio, you can create a video that’s clear, engaging, and true to your story—even if you’re just getting started. Here’s a straightforward process we keep coming back to when things get complicated.
Key ingredients for a smooth edit
Simple steps to editing your first video
Start by putting all your video clips, images, and audio files into clearly labeled folders. Use names that describe the content and keep everything for your project in one main directory. This makes it much easier to find what you need when you’re deep into editing, and helps avoid accidental overwrites or missed files. Experienced editors often swear by this step, especially on larger projects where file chaos can eat up precious time.
Open your chosen editing program and use the import function to bring in your organized files. Most editing tools let you drag and drop, or select multiple files at once. Double-check that everything appears in your media bin or library. Importing everything at the start saves you from scrambling mid-edit, and lets you see your full set of creative options before you make any cuts.
Drag your video and audio clips onto the timeline in the order you want them to play. Don’t worry about perfection—just get everything in roughly the right sequence. You’ll fine-tune as you go. This first arrangement acts like a sketch, helping you visualize your story’s flow before you start trimming. Many editors refer to this as a ‘rough cut’ and use it to spot obvious gaps or pacing issues early.
Go through your timeline and use the trimming tools to cut out mistakes, awkward pauses, or sections that feel slow. Pay attention to how each cut affects the overall rhythm. It’s normal to go back and forth as you refine. Take breaks to re-watch with fresh eyes—sometimes, stepping away helps you spot things you missed. A polished edit often comes from several rounds of reviewing and tweaking.
Choose background music that suits your video’s tone and layer it under your footage. Adjust the volume so dialogue or key sounds remain clear. Try out simple transitions—like fades or dissolves—to help scenes flow smoothly. Don’t overload your edit with effects; keep it focused on the story. Think of audio and visuals working together, not fighting for attention.